How to Make a Wooden Pen Holder with DIY Co2 Laser Cutting Machine?
Introduce
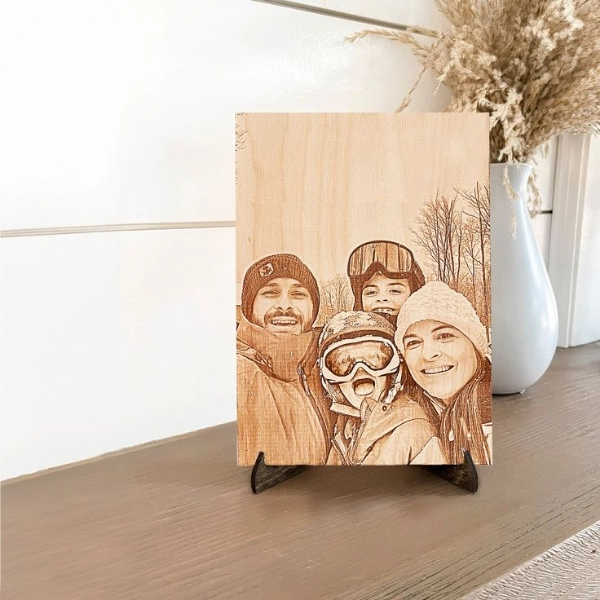
Let's use a laser cutting machine to make a wooden pen holder! Through the study of this article , you will learn the basic operation of the laser cutting machine, design skills, material selection and processing, and post-production process, and finally make a wooden pen holder that is both practical and beautiful .
Prepare the Materials
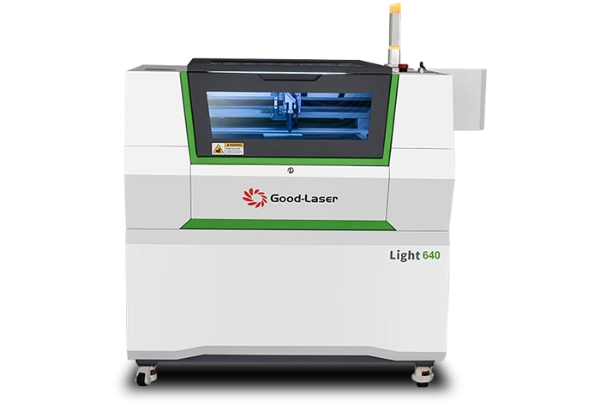
Hardware : Good-Laser Light 530 laser cutting machine, computer, workbench, vacuum cleaner, safety glasses
Software: Good-Laser Light Maker Cutting Software
Material : 3mm basswood board
Auxiliary tools : sandpaper, wood glue, brush (for painting), ruler, pencil.
Before You Start Working
1. Confirm that the laser is correct and the lens is clean
2. Make sure the exhaust fan is working properly
3. Make sure air assist is turned on
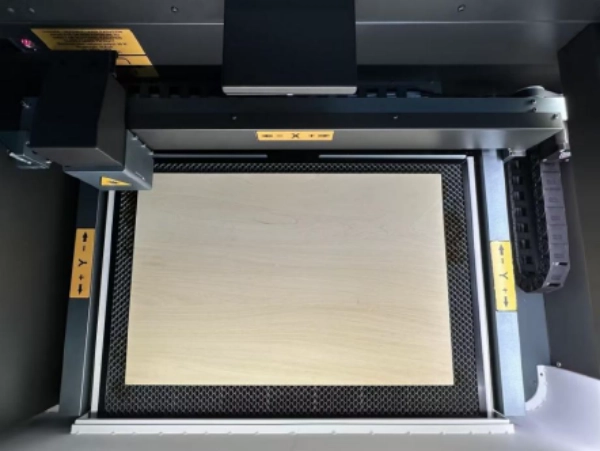
Step 1 : Place the basswood board in the machine working area
Step 2 : Import the pen holder design into the software
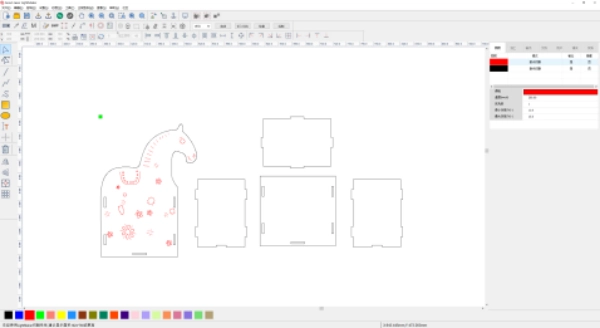
Step 3 : Adjust the size of the pen holder design and set the cutting path
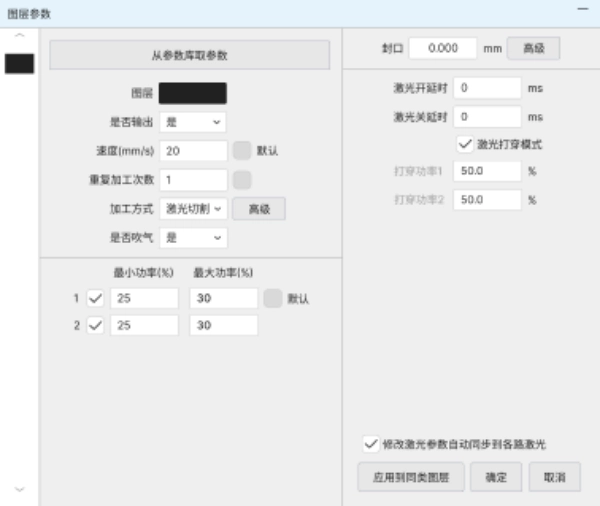
Step 4 : Focus on Cutting the Board
If you don't focus, you won't achieve the desired results . So before you start, make sure you are focusing properly.
To focus, two options are available :
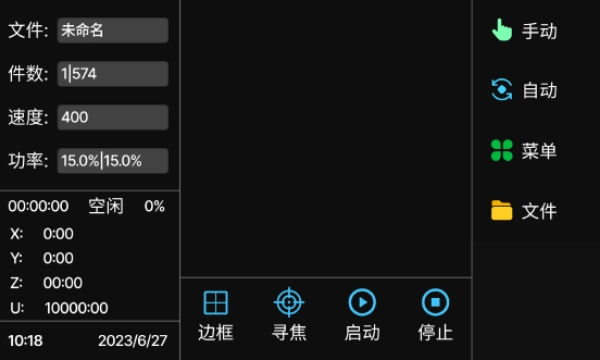
Auto focus : Click the [Auto] button in the operation panel , click to focus, and after auto focus, click [Border] to confirm the processing range. After confirmation, click [Start] to start processing.
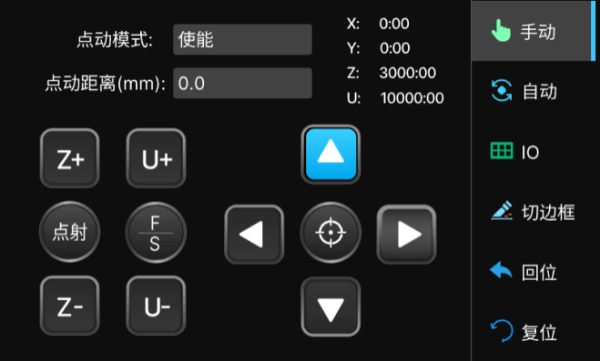
If you prefer manual focus : click the [Manual] button in the operation panel , then click the up, down, left, and right buttons to move the laser head to the appropriate position, and click the [Position] button to determine the starting point of the processing.
Step 5 : Monitor the machine cutting process
To avoid any problems, monitor the laser cutting carefully, especially if abnormal conditions such as alarms occur.
Step 6 : Complete the cutting of the pen barrel and remove the cut parts
After processing is completed, the platform can be pressed to pop up and the workpiece can be taken out.
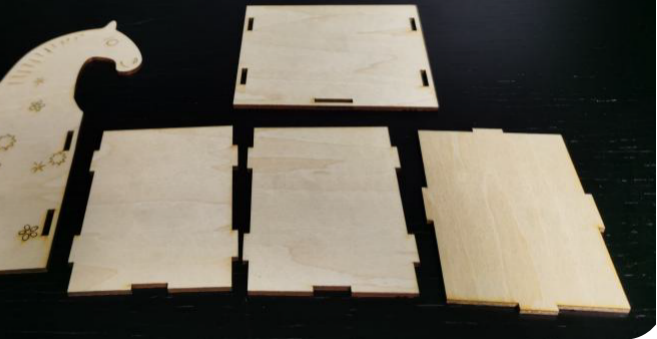
Step 7 : Complete the assembly
Install the left panel, right panel, bottom plate and panel of the pen holder
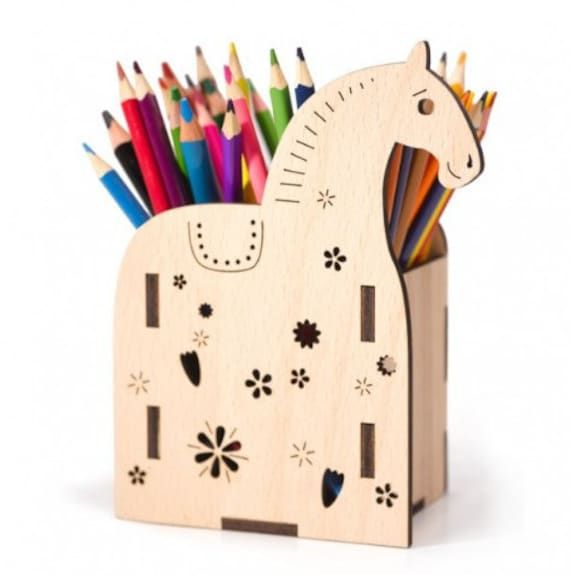
Come and try it !
We've shown a simple animal pen holder design, but the possibilities are endless. You can create any image or pattern you like, and custom laser engraved pen holders offer a unique and personalized way to store and display writing instruments. It also adds personal meaning to this everyday item, adding a personal touch to the useful stationery on your desk while adding a touch of personality to your study, work space.
If you like this project, you can pay more attention to our website www.good-laseredu.com, which contains more interesting projects . Thanks for reading!


