How to Engrave Wooden Glasses with School Laser Cutter?
Introduction
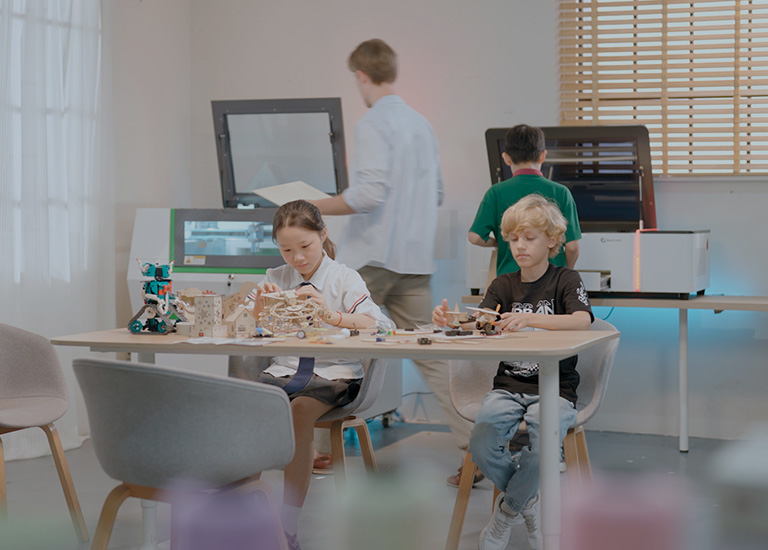
Welcome to the school laser cutter cutting and engraving DIY wooden glasses! This course aims to guide students to master the basic application of laser cutter for education cutting technology through practical operation using Good-Laser Light 530, and to design, make and assemble personalized wooden glasses by themselves. Whether you are a DIY enthusiast, a design student, or a friend who is interested in the combination of technology and art, you can find fun and a sense of accomplishment here.
Prepare materials
Hardware: Good-Laser Light 530 school laser cutter, computer, workbench
Software: Good-Laser LightMaker cutting software
Materials: 3mm basswood, wooden glasses drawings
Before starting work
Confirm that the laser is correct and the lens is clean
Make sure the exhaust fan is working properly
Make sure air assist is turned on
Step 1: Import the file into the Good-Laser LightMaker cutting software and adjust the size, position and settings. Check to make sure everything is working properly.
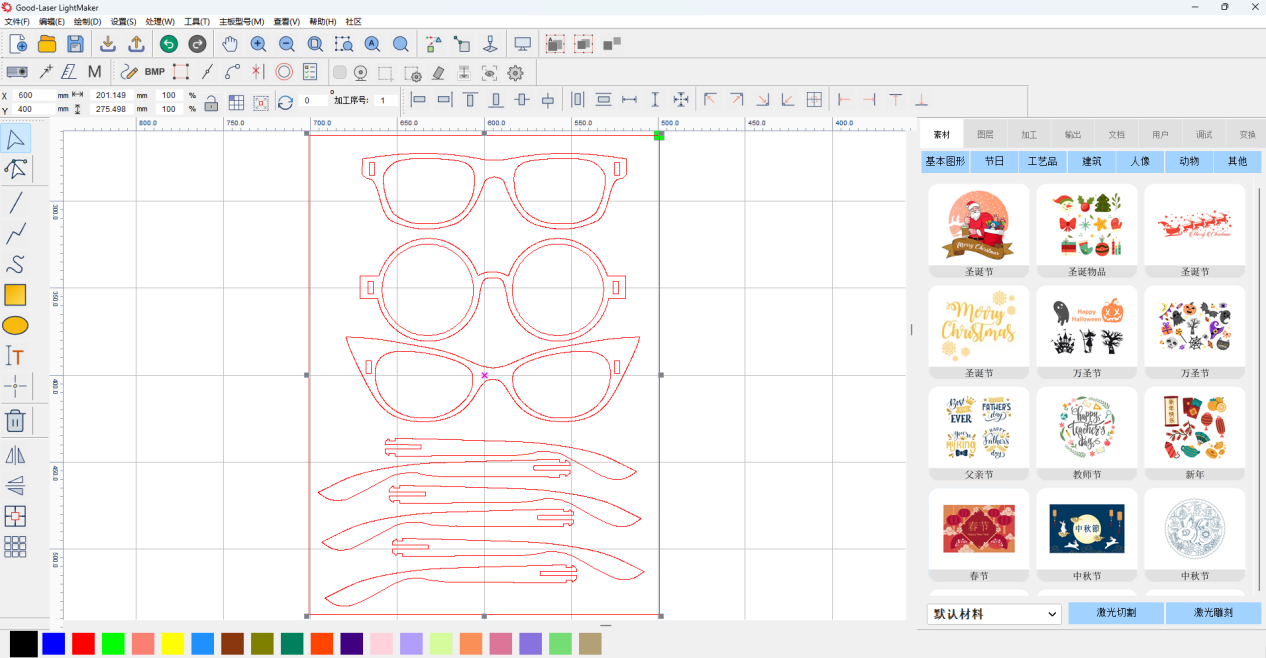
Step 2: Set processing parameters and cutting path
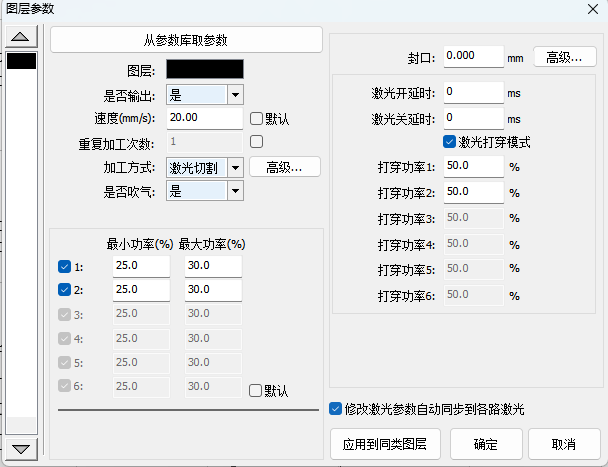
Step 3: Focus on cutting the wood board
To focus, there are two options:
Auto focus: Click the [Auto] button in the operation panel, click to find focus, click [Border] to determine the processing range after auto focus, and click [Start] to process after confirmation.
If you prefer manual focus: Click the [Manual] button in the operation panel, then click the up, down, left, and right buttons to move the laser head to the appropriate position, and click the [Location] button to determine the starting point of the processing.

Step 4: Remove the cut parts after processing
After processing, press the pop-up platform to remove the workpiece
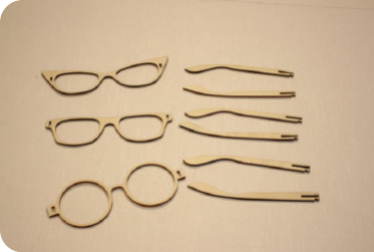
Step 5: Complete the splicing assembly
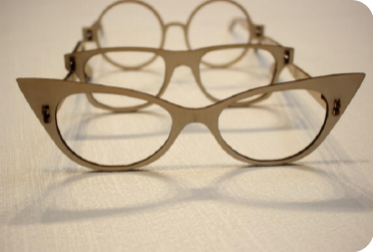
Come and try it!
Engrave wooden glasses with school laser cutter! In this course, you not only master the application skills of laser cutting technology in the field of woodworking, but also have an in-depth understanding of the basic principles and ergonomic considerations of glasses design. Every step from design to finished product is a dual challenge to creativity and technology, and also an artistic practice combining tradition and modernity. I hope that every student can make their own unique wooden glasses, enjoy the fun of creation, and contribute to the promotion of environmental protection and sustainable lifestyles.
If you like this project, you can pay more attention to our website www.good-laseredu.com, which contains more interesting projects. Thanks for reading!


